This is post three in a development diary I am writing on setting up a new homelab in my home office. In the last post I described the overall plan to achieve my first goal - setting up a containerized database server for my professional projects. In this post, I describe the process of installing the Proxmox software that most of my services will sit on top of.

Most of what I have done here was based on tutorials from various homelab builders on YouTube. I have not had to dive into Reddit forums yet but I do know that day is coming. Specifically, I used the very detailed instructions provided in the Proxmox Getting Started series on Learn Linux TV. This is a very detailed, thorough series that dives deep into all aspects of Proxmox.
Installing the server
This is the easy part, as they say. Basically, Proxmox is a Linux server with specific software designed for virtualization. The installation went like any other process:
- Download the software to a bootable USB drive
- Install the new OS on bare metal
I used Ventoy for the installation which is pretty normal for me no matter if I am installing new OS software or trying to debug an issue at the bare metal level.
At the conclusion of the process, Proxmox provides a website link to manage the new server. This system is very similar to the operating system UI on my Synology, but less refined.
Setting up drives
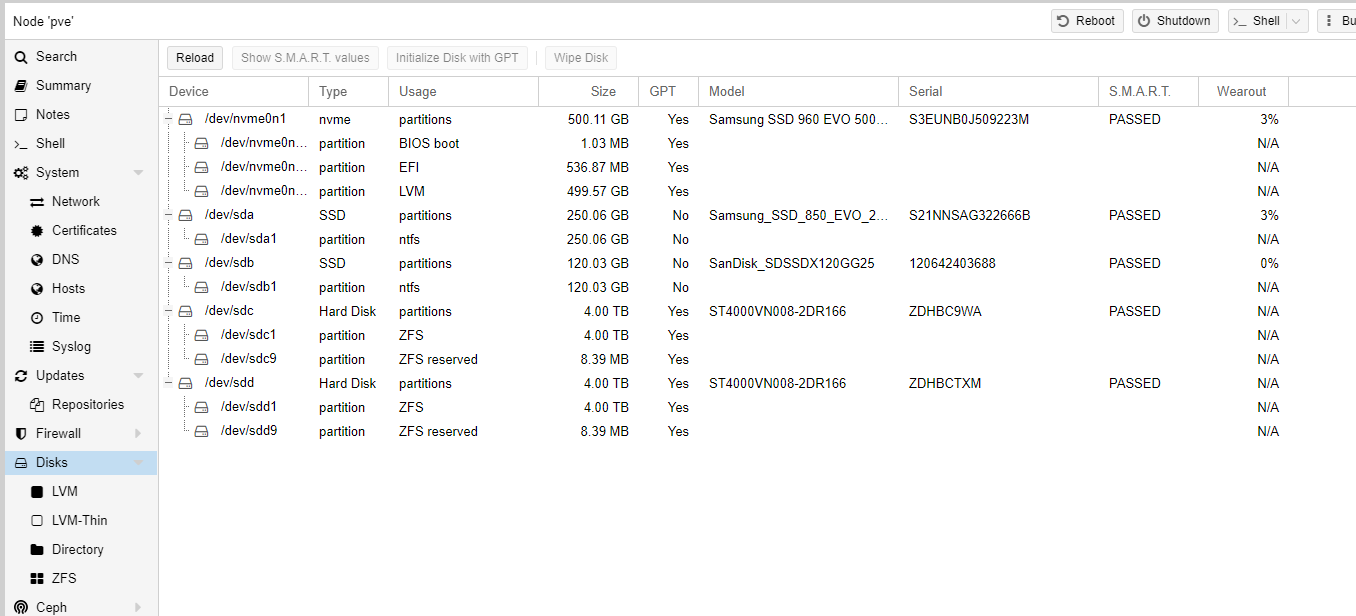
The issue with Proxmox is that the setup of drives to make them useable in the system is not very obvious at first. Basically, when you setup the system, you have to drill down to the specific server (“PVE” by default) and then click disks.

But none of these disks are actually useable yet aside from the drive that the operating system is installed on. The user (or is that admin?) has to actually setup volumes through the nodes under the disk option.
I setup my 2 4TB NAS drives as a ZFS mirrored volume and did nothing with my other drives yet as they are only small SSD drive that may be getting replaced very shortly.
Getting rid of the nag message
I am doing this as a homelab, not a commercial user. But Proxmox likes to annoy me with this popup:

Fortunately, this Medium Post takes the new user through the process. However, while this article references using Vim to edit the necessary text file, Vim is not currently installed in Proxmox 7. I had to use vi, which I was always rusty on. Here is the cheat sheet I used:
Remember that ESC toggles back to command mode and unless you are using a command that requires extra inputs (e.g., : and /) you won’t get any feedback. I never liked vi.
Once that was done, Proxmox is up and running!